Monday, June 22, 2015

Worst Day Camp Ever!!!

Last summer my all little boy grandson went to a half day camp and had a good time. Yes there were typical little boy behavior issues with his five year old attention span but there were two teachers in charge with some teenagers as helpers.
This year he and his little sister attended the same camp. The difference was there was only one teacher in charge of 30 kids with a handful of teen-agers as helpers and one non-teacher adult helper.  The camp was the same format and the boy was totally bored. His little sister wasn’t accepted by the other little girls on her row since she didn’t go to their school. I guess there wasn’t a way for her to make friends with others in the camp! From the lips of a five year old “All we do is sit, sing, sit, snack, and sit some more and wait on our parents to come. It’s been a total waste!”
So my grandmotherly advice is this:                                                                                                              
1.       Please make sure there is an adequate number of adults in charge even after you have paid your money!
2.       Make sure the adults are experienced at handling children and won’t start a battle of wills because children will win every time!
3.       Make sure the adults are trained to spot bullying tactics and will not allow it to happen.
4.       Ask lots of questions before signing the child up even if the child went to the same camp the year before.


By the way I have many years of teaching and creating a fun camp for my students with an adult teacher helper. Our goal was to make sure each child had a good learning experience, made friends with others in the camp, and had a good time. We also limited the number and ages of students we would have in our camp.  Mizz Mac

Monday, May 18, 2015

Preschool Children, Painting, and Watercolors

How many of you have bought those cool watercolors in the box for your young children? Who remembers painting watercolors with the metal Prang watercolors? We can still buy the Prang watercolors but they will stain clothes. Crayola has better watercolors for young children and Sargeants can be found also.
Did anyone have a classroom teacher say not to mix the colors? I know they do and I understand why they say it. If the children aren’t taught good brush handling skills, they will dip the bush into every single solitary color in the watercolor box. What happens? The colors are no longer clean but muddy or even black!  If the children are taught how to use the brush, eventually good brush painting skills will be a habit.
I found the best way for me to teach good brush painting skills was at the beginning of the school year. I would give the children a dry brush and a cup of water and a sponge. We would practice dipping the brush into the water and drying it on the sponge. Next we would pretend paint in the air, dip in the water, swish the brush to clean, dry it on the sponge, and pretend to dip the brush in the paint.
After practicing we would then paint with our watercolors. The following is a photograph of my granddaughter painting with her watercolors. She is mixing her colors on her watercolor paper.


This photo is her painting almost finished!


Another method for teaching children not to mix up the colors is by teaching them how to make colors through the color wheel. I will post more on this subject again. Mizz Mac

For more of Mizz Mac’s lessons or projects, check out her store on www.teacherspayteachers.com/store/Gena-Mcwilliams.

Monday, May 4, 2015

Teachers Appreciation Sale!!

I haven't realized how long it's been since I have posted something. I have been busy with grandchildren! Also I have been creating some designs for frames, borders, and background papers. I have a free one on my store for you to check out!
https://www.teacherspayteachers.com/Product/Loops-ZigZags-black-and-white-borders-and-frames-1816566

Also Teacherspayteachers is having a teacher appreciation sale tomorrow and Wednesday. Everything in my store is on sale 20% off and TPT takes off another 10%.


Monday, March 2, 2015

It's Cherry Blossom time!

It’s Cherry Blossom time in Macon, Georgia! The birds are chirping outside my window and the sun is trying to come out. Spring must be coming soon.

I haven’t seen any cherry blossom buds yet. Have you?

I do have an easy art project for drawing cherry blossom trees with the little ones.
All you will need is a small sheet of watercolor paper or construction paper, a brown and a pink crayon or oil pastel, and an 8-color watercolor box with a paintbrush.
First place a pad of paper on your workspace. Now lay the watercolor paper on top. Coloring with crayons or oil pastels is easier and smoother if done on top of a padded surface.

Directions:
Lay the free hand and wrist on the watercolor paper. Trace around the free hand and wrist with the brown crayon or oil pastel. Color the hand and wrist brown. This makes the tree trunk and limbs.


Draw crooked lines from the limbs (fingers) to make tree branches with the brown crayon or oil pastel.


Draw and color small pink circles with the pink crayon or oil pastel to make cherry blossoms.


Paint the sky with blue watercolor.
Let it dry and mount on construction paper or poster board.
This is an easy project for all ages. For another easy method try my Easy Smeasy Cherry Blossom Trees on https://www.teacherspayteachers.com/Product/Easy-Smeasy-Cherry-Blossom-Trees-1741136. It’s free!


Thank you, Mizz Mac

Monday, February 16, 2015

Snowy Day Art

February is full of things to celebrate. We have Presidents’ Day and Valentine’s Day and it is also Black History Month! The weather has been quite snowy in the north! It all reminds me of a favorite children’s book- “A Snowy Day” by Ezra Zack Keats. It won a Caldecott award in 1963 and it is the first full color picture book about a small black boy. The illustrations are wonderful simple shapes with little details, made from cutouts, watercolor, and collage. The lack of distinct details and the use of organic and geometric shapes adds to the tranquil, calm story line about a boy waking up to find snow has fallen during the night and the rest is about his day and discoveries in the snow.

The book can be found on Amazon the kindle version, a hard back copy, and a paperback copy.

There have been winter days when it would snow enough to close the schools for a day here in Macon, Ga. When the school would be open back up, I would ask my young students to tell me about their day and what they did in the snow. What colors did they see? What shapes did they use to make their snowmen? Did they add a scarf? Did the snowman have any facial expressions? Did anybody make a snow angel? I would then have them create their own Day in the Snow. They could draw in pencil on light blue or gray construction paper but they could color with oil pastels, cut out snowflakes and use scrap construction paper to collage their artwork.
Here is an example:


Reading “A Snowy Day” to children and discussing their own experiences in the snow is a fun way to help children recall and create art from their own experiences. Mizz Mac

Tuesday, January 6, 2015

Cool Snowflakes for Inside Fun!

Good morning! Did you have happy holidays? I know mine was hectic. The weather here is about to turn cold and frightful. Remember the ice storms last year and the frozen pipes?

So what to do with the children when they are stuck inside for days at a time? It’s time for art!!
There is a cool children’s book about the man who photographed snowflakes, “Snowflake Bentley”. Google Snowflake Bentley and you can find out about the museum in his name in Maine, the camera he invented to photograph the snowflakes, and see the actual photographs he made.

Now if you want to cut out paper snowflakes, you can follow these directions or you can buy my product: (it’s only $1.50 and you can download it and have the directions readily available) http://www.teacherspayteachers.com/Product/Snowflakes-and-Symmetry-1007433.

Supplies needed:

 1 round lid any size  to fit paper– I collected various sizes of plastic lids
                                 1 pencil
                                 Several sheets of white copy paper
                                  1 pair of scissors
Directions:
1.       Place the lid on the paper and trace around the lid with the pencil.

2.       Cut the circle out.

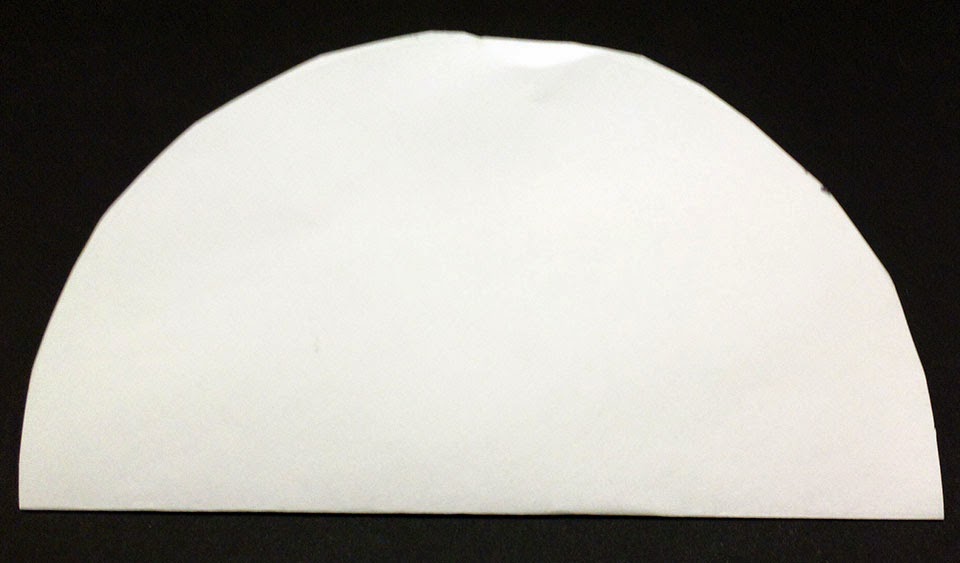
3.       Fold the circle in half, taco shape.

4.       Fold in half again, pie shape.

5.       Fold a third time, pizza shape.

6.       Cut out triangles and half circles on the sides. Don’t cut the point if you are a beginner.

7.       Unfold to see the snowflake.

8.       After much practice, deeper cuts can be made on the curved side to create radial arms and the point can be cut to make a hole in the center of the flake.


Stay warm and have fun! Cutting snowflakes is fun but messy! Mizz Mac