Good morning! Did you have happy holidays? I know mine was hectic.
The weather here is about to turn cold and frightful. Remember the ice storms last
year and the frozen pipes?
So what to do with the children when they are stuck inside
for days at a time? It’s time for art!!
There is a cool children’s book about the man who
photographed snowflakes, “Snowflake Bentley”. Google Snowflake Bentley and you
can find out about the museum in his name in Maine, the camera he invented to
photograph the snowflakes, and see the actual photographs he made.
Now if you want to cut out paper snowflakes, you can follow
these directions or you can buy my product: (it’s only $1.50 and you can
download it and have the directions readily available) http://www.teacherspayteachers.com/Product/Snowflakes-and-Symmetry-1007433.
Supplies needed:
1 round lid any size to fit paper– I collected various sizes of
plastic lids
1 pencil
Several sheets
of white copy paper
1 pair of
scissors
Directions:
1.
Place the lid on the paper and trace around the
lid with the pencil.
2.
Cut the circle out.
3.
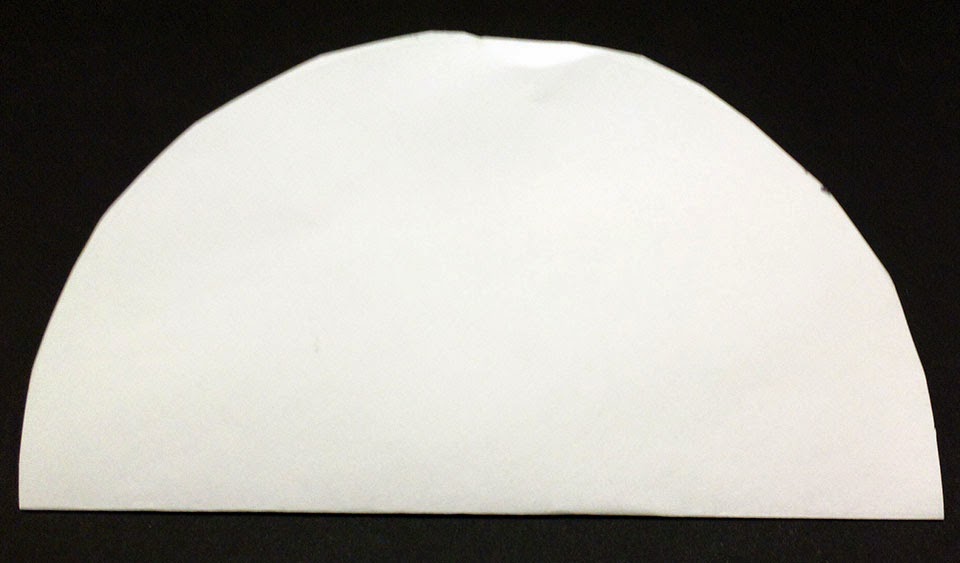
Fold the circle in half, taco shape.
4.
Fold in half again, pie shape.
5.
Fold a third time, pizza shape.
6.
Cut out triangles and half circles on the sides.
Don’t cut the point if you are a beginner.
7.
Unfold to see the snowflake.
8.
After much practice, deeper cuts can be made on
the curved side to create radial arms and the point can be cut to make a hole in
the center of the flake.
Stay warm and have fun! Cutting snowflakes is
fun but messy! Mizz Mac


